Hi folks,
As you all know, I’m not a professional photographer/designer or photoshop expert! But I do have great interest in photo editing and graphic designing! And I love to experiment 😉 I learned photoshop on my own, and I think..
..If I can do it, anyone can do it 🙂
Okay! Now let me come to the point. Some of my blog buddies has expressed their interest to me, in learning photo editing using photoshop!! Even though I’m not that good with words, I’ll try my best to help my buddies out, by letting them know everything I know about photoshop(Tips, Tricks & Tutorials). So from today on every Tuesday/Thursday(hopefully), I’ll be posting some edited photos, with tutorials, explaining how to do it in photoshop.
So I would like to name it as ‘Tuesday-Tips-Tricks & Tutorials-on Photoshop’ in short ‘4Tp’ 😉  ..Kinda kiddish.. hehehe!! 😉
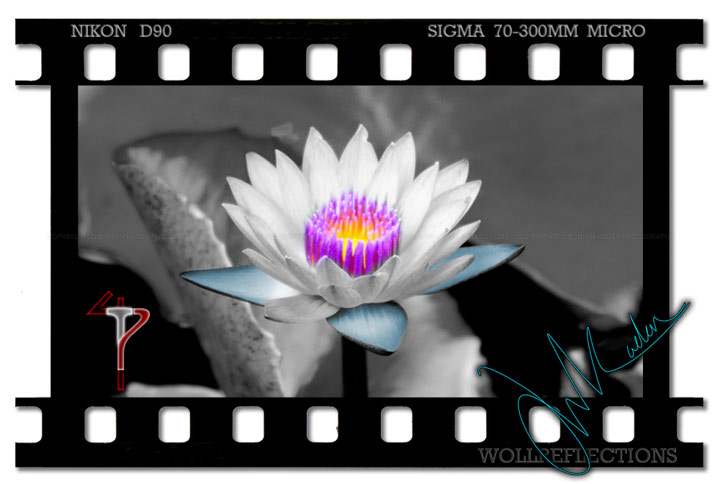
Today’s Topic is: Black & White~Colour photograph!!!!!
In this tutorial, you’ll learn how to convert a colour photo, into a black and white photo with splashes of color. This is a great technique for anyone who wants to add dynamic color effects and emphasize various features of a photograph.
Software used: Photoshop CS2 (Features used: layers & Eraser tool)
Step-by-Step Instructions:
1. Open up a color image of a flower in Photoshop, preferably one where all the Petals/features are exposed.
2. Goto Layer > Duplicate Layer… and when the pop-up appears, name the duplicate layer “Black White”.
3. Goto Image > Adjustments > De-saturate (or press CTRL+SHIFT+U). The “Black White” duplicate layer should turn black and white.
4. With the “Black White” layer active, select the Eraser tool. Select an appropriate brush size. Then zoom in and begin erasing the areas of the photo where you want the color to appear. (Try appropriate hardness for your brush tip ~ from the brush drop down menu on the top bar)
5. Continue to erase any other aspects of the photo until you have the final result that you are looking for.
6. Let your creativity run wild, Sky is the limit 😉 Keep experimenting on different subjects!!
In this tutorial, I erased the open mouth and teeth from the “Black White” layer and the result is a black and white photo of a monkey with a blood red open mouth.
Example 2:  I’m using Photoshop CS2. If you like my 4Tp idea, please let me know! If you have any suggestions, please let me know! If you know a better way of doing the same thing, do let me know, as I’m still learning new things everyday! If you want to know about a particular tutorial/effect do let me know. I’ll do my best to dig it out and put it in here, in 4Tp!! I’ve also added a category for 4Tp, so you can look back to this post/future tutorials with much ease! 😀
Please don’t forget to come back & leave a link(in the comment box) to your edited photo post. So that other folks visiting this post can enjoy your creative work too 😉
Awaiting your valuable critics 😀
Leave a reply to threecollie Cancel reply